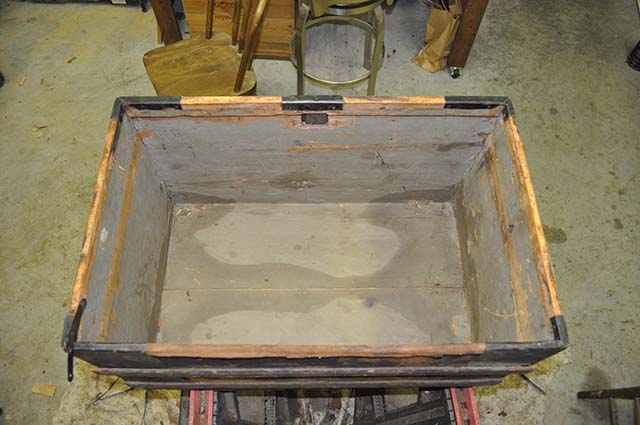
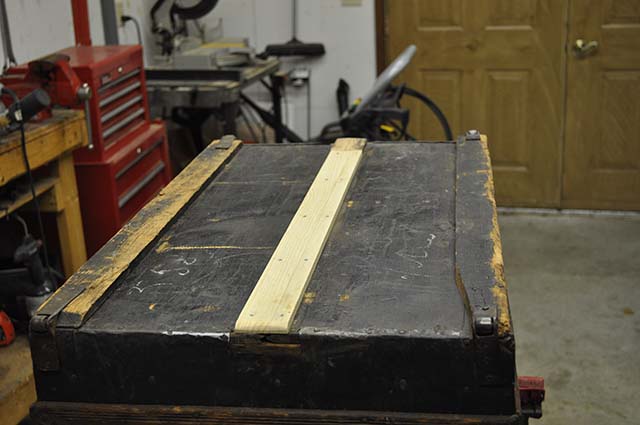
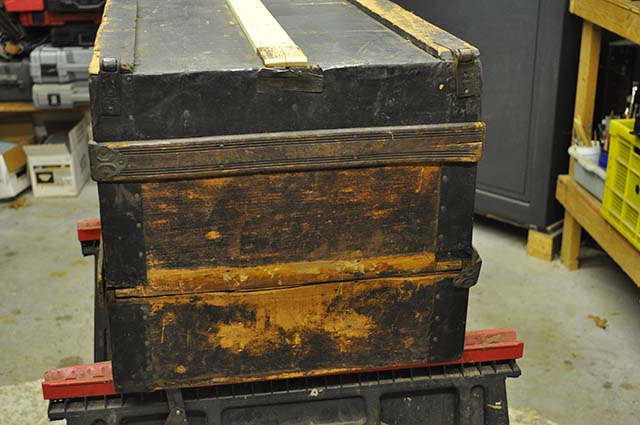
OK, the trunk is glued together! I made sure that all of the metal edges were tucked in behind the slats before I glued. I also put new nails in the slats that were not attached just for extra strength.
The trunk feels very sturdy now. I still have to replace the slat that was missing.

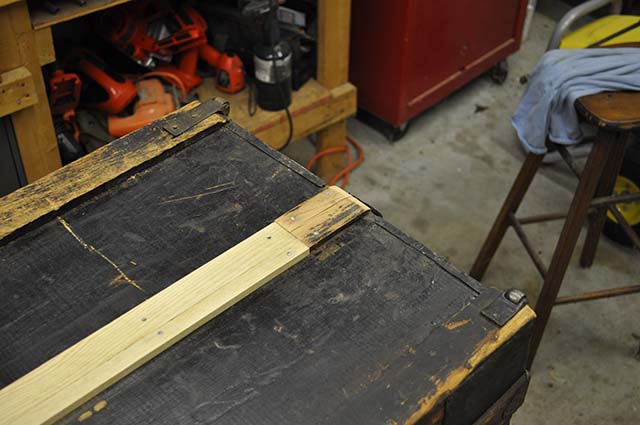
I removed the strip of wood from the middle and it is shown here on the left side. Remember that this wood is over a hundred years old, so be very careful if you want to remove a piece to reuse. You can also see that I put the 2 extra wheels on. Pretty sure that no one will notice that they are cousins.

I really did not have a good piece of wood to use for the strip that I made, so I glued 2 pieces together and then made them the correct width. My scraps were actually a little short so I used a small piece of the old strip to make this longer. Again, this is the bottom that no one will probably ever see.

Here you can see where I need to put my homemade slat. The nails and glue will add even more strength to the trunk.

I have also removed the handle caps. Most trunks will need new leather handle straps at the very least. Normally you have to remove the end caps to replace them. I never use these straps to pick the trunk up. Since there are usually holes where you need to put the caps when you replace them, it is not as strong as the original.

I have this same trunk. I just got it today for 25.00. Only mine is covered in green painted canvas . Can you tell me what year these were made and what country?
Yours is beautiful. I hope I can do mine justice.
Sunnie, sorry but that would not be enough information, even for an expert, which I am not. I only do this for a hobby. There are books which could help you. One of which is on the sidebar of this site. Good luck with your makeover! Bob