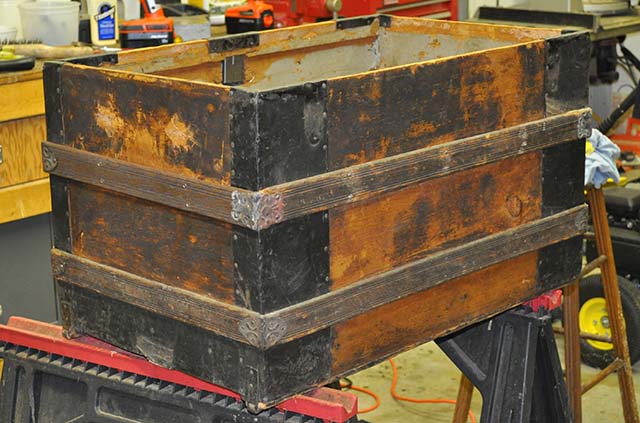
I have made the slat and put it into place. Again, it is not perfect, but it was free! I cut a piece of oak out on the bandsaw that was the same size as the original. I then made a sort of drill press with my dremel tool. I hooked that onto my table saw so I could use the guide to push it through straight. I used a small bit with sort of a v cut. It actually turned out pretty good!
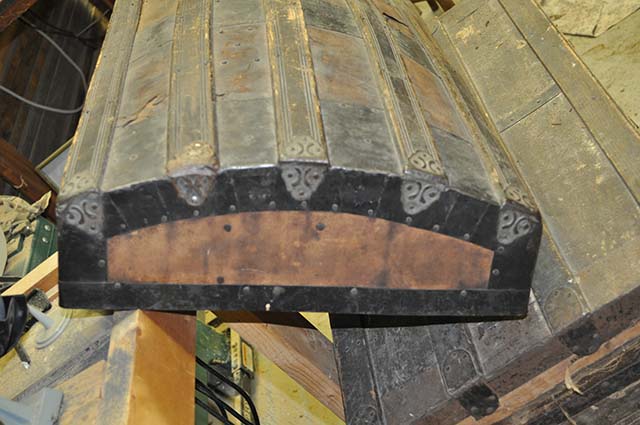
The slat that I made is on the top left. Also notice that the corner cap is a cousin. It is on the back of the trunk, so it will not be noticed as much. The wheel on the left is also a cousin. The main part that is different is on the bottom. No one will notice.

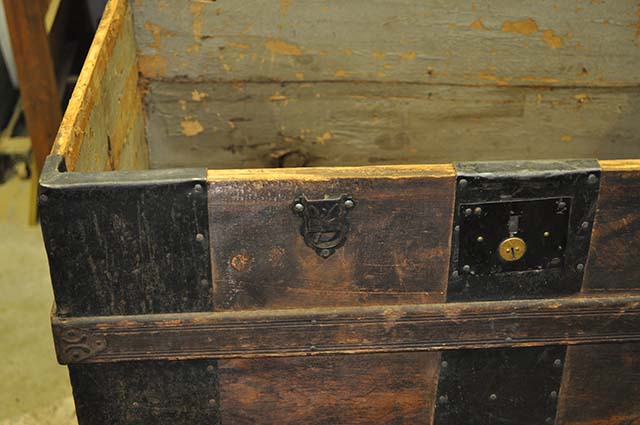
I then put on all the missing slat corners and renailed all of the slats that were loose.
I fixed the hasp catch that was missing 2 nails.

I replaced the missing end caps from the lid slats.

This trunk is now at about the normal starting point for most of my trunks. Hopefully on your trunk you will only have a couple of minor repairs!
This trunk was covered in leather. A lot of it is off as I have been picking at it in my spare time.
In my next session I will get some hot soapy water and clean it up real good.

Hello! I’ve been following your site for a while now and finally got the bravery to go ahead and give you a shout out from New Caney Texas! Just wanted to tell you keep up the good job!
Thanks!
Hi! Beautiful work with the trunks that you have done. I’m wondering what you replaced the end caps with? Did you order new ones and if so from where? Also, what do you suggest for cleaning metal hardware with? Just vinegar and water? Or anything in particular. Thanks so much.
Claire, I used the original end caps. I usually just use a wire brush to clean them. I then leave as they are or use flat black paint. And then a coat or two of polyurethane. That does the trick for me.
Bob