OK, I have sanded the trunk. It is looking good!
I also tightened up a few nails and trimmed some sharp edges.
The top is still not attached, I just sat it on top for the photos so we could see what it will look like.
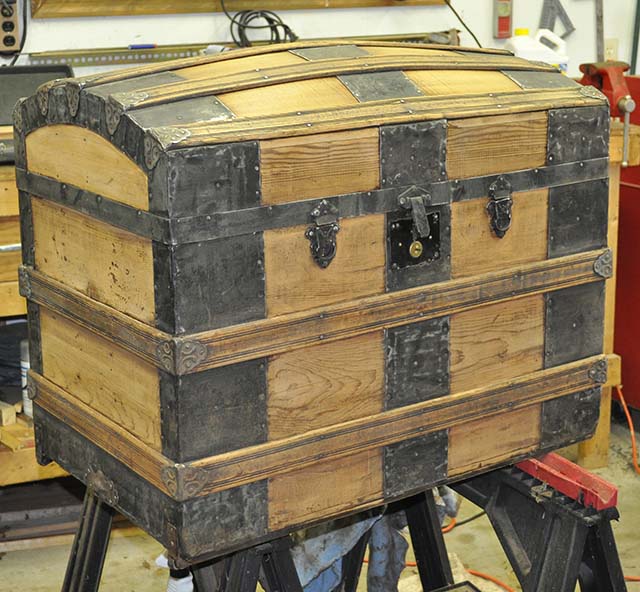
Now your finish will be a matter of preference. I have just put varnish over sanded wood for a light look, or stain it first for a darker look.
For this trunk I am going to stain it an Oak color. I have several different “flavors” of wood that I will try to match better by applying more coats of stain to some sections.
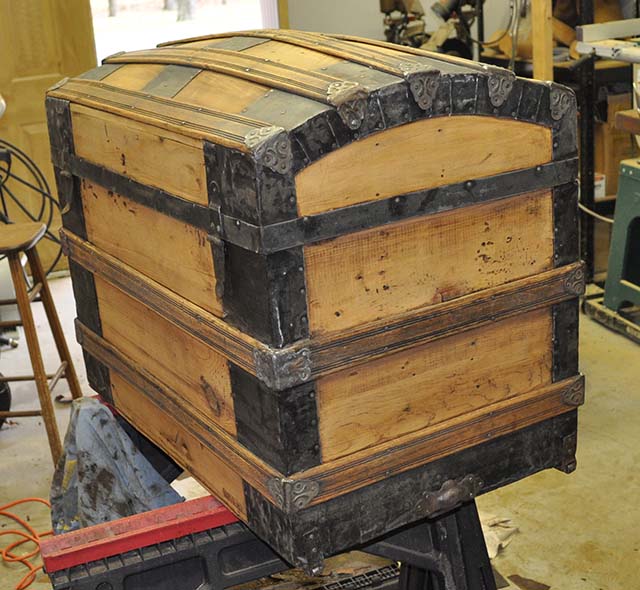
In this next photo you can see the new slat. This is one of the areas that will get extra coats of stain to try and make it match better.
Also notice that I put the decorative pieces on the sides at the bottom to hide the tears in the metal.
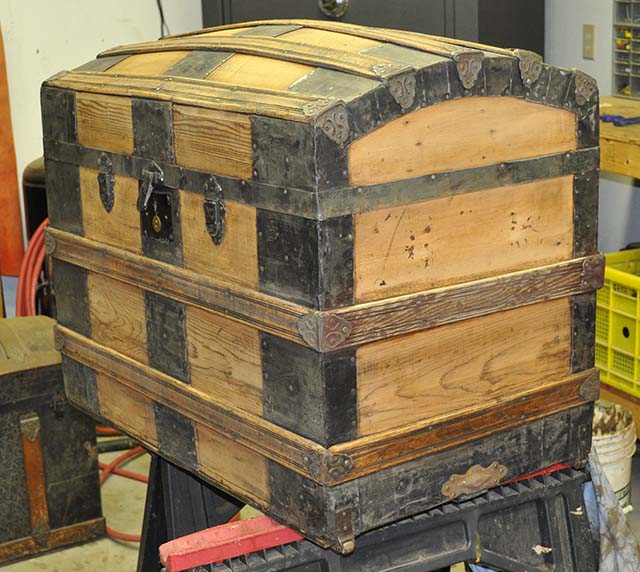
I roughed up the metal parts as I sanded. I will still come back with a wire brush to get all of the rust off. I also use flat black Rustoleum paint on the metal pieces to keep the rust from returning. But I have also not painted any of the metal, just for a different look. If you were to put varnish over this trunk right now the metal would have a vintage look. Again, it is a matter of taste and which look you are after.
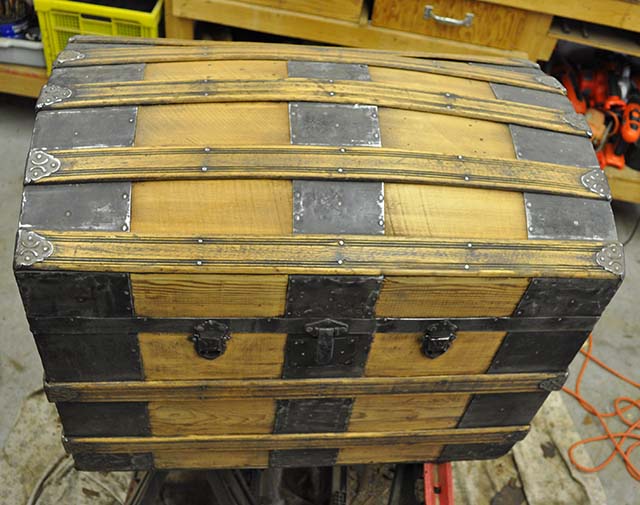
Here is a look at the inside. I am constantly looking for loose nails and sharp edges. You may have to use a nail punch to “bury” some of the sharp edges or exposed nails. Also be on the lookout for splinters.
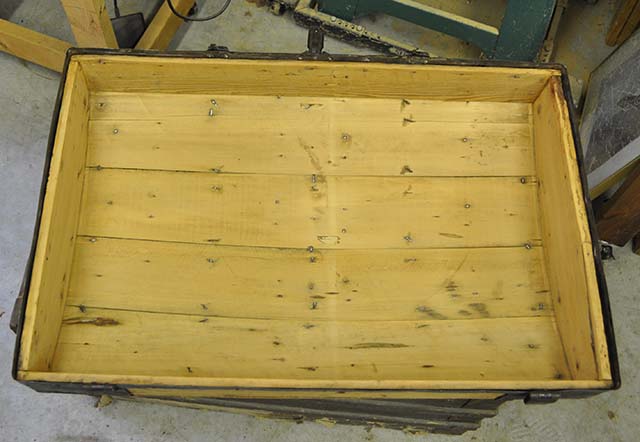
I am still going to patch the hole left behind the lock, because it has some sharp edges. I also found a slat on the top that is warped and raised a little. So I am going to glue it down and clamp it. I just don’t like the way that it looks.
Most trunks have holes. Some from labels that were nailed on, some from dents, and some from knots falling out. Some holes don’t look too bad, but I usually try to fix the bigger ones. If you have a loose knot, glue it in before you lose it. Wood putty works, but I usually mix some sawdust with it. But it still doesn’t match that well. My best method is to cut a piece of wood to fit into any large holes. Put a little sawdust in over the glue and it might not look too bad. Again, it is a matter of the look that you want to see.
So now I will do these two little repairs and then stain the trunk.
