If you are just starting out at restoring antique trunks, I would not recommend that you get one like this! But for me I look at it as a huge challenge.
I found this trunk at an antique shop that I frequent. It actually had a note on it warning not to touch, but ask for assistance. Now that is a very bad sign.
This antique trunk was actually so bad that they ended up giving it to me.
The first thing that I did was to look it over and decide what parts I would need. I went back to the antique shop and he let me root through his spare parts until I found most of what I needed. Now all of the parts were not exact matches, but rather what he called “cousins”. In other words they are close enough that no one will probably notice.
I also wanted to tell you that I am all about saving money. I am not interested in getting a free antique trunk and spending hundreds of dollars on new parts. So if I can get a close match on something, I am satisfied!
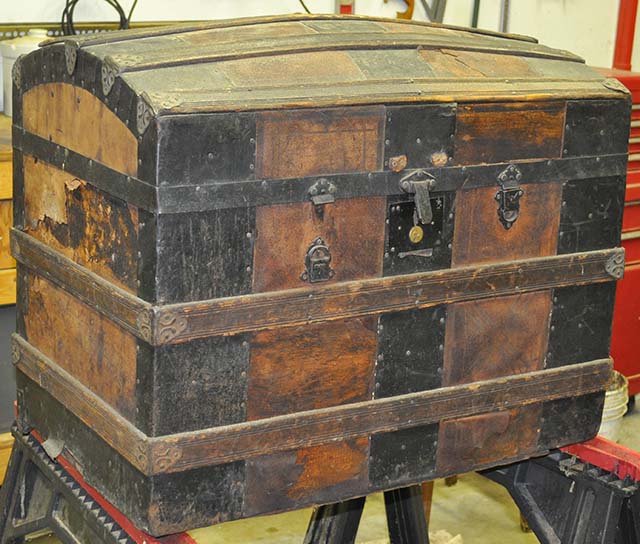
So here is what we are faced with:
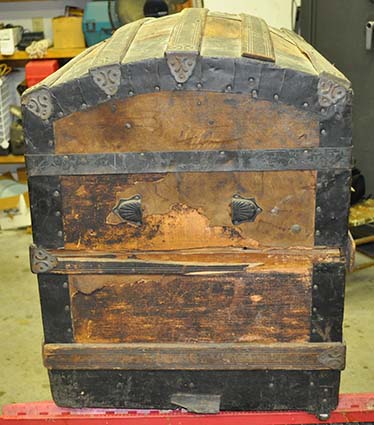
In this picture it actually doesn’t look too bad. Looks almost like an easy project. Let’s continue.
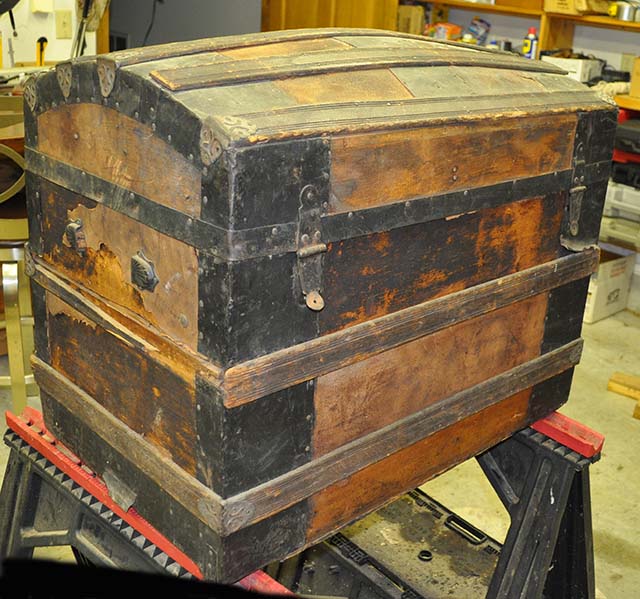
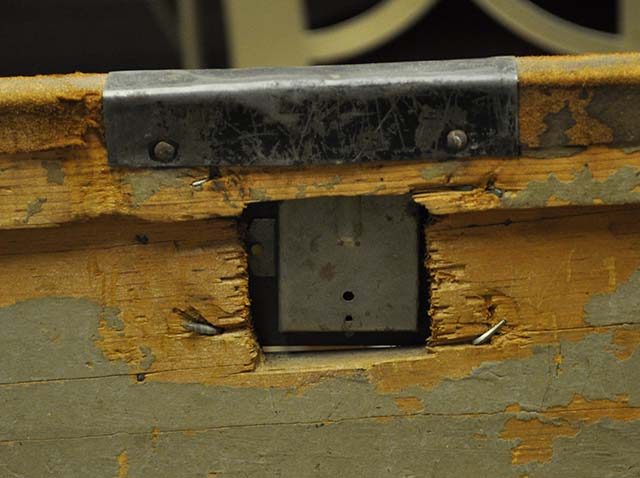
Still not too bad. Looks like someone tore the lock right off to get at the contents. Probably looking for treasure! LOL
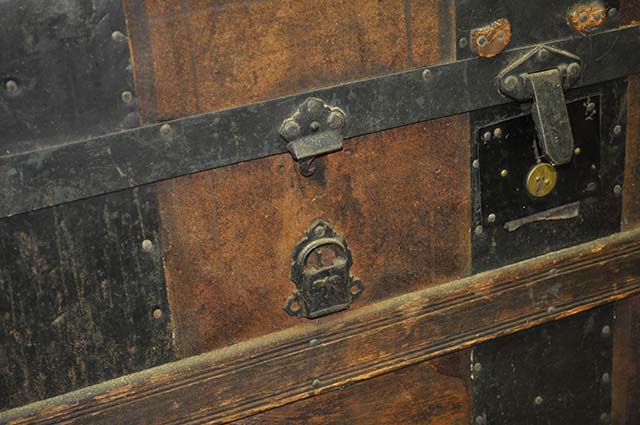
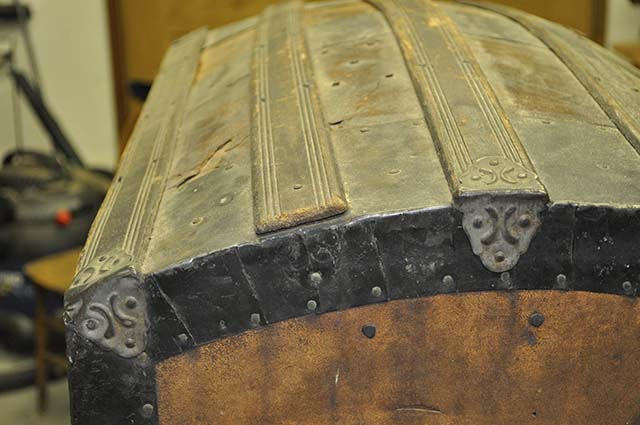
I actually made this little repair before I took the photos. There was a hunk of wood missing from the top slat. I took a razor blade and cut it out square. I then cut a little piece from another slat that was damaged beyond repair to slip into the hole. It was a lot less work than trying to remove and replace the whole slat. I really don’t think that anyone will notice.
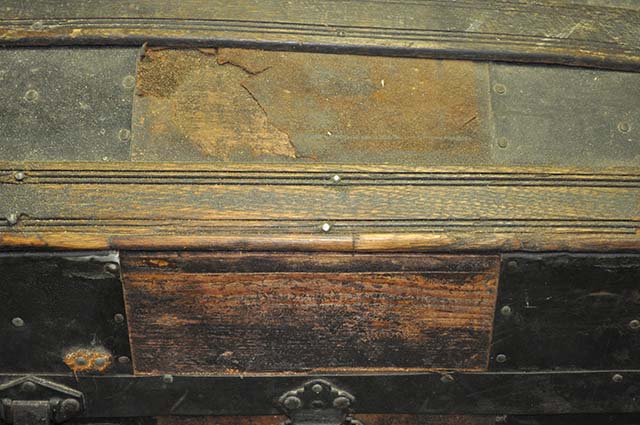
OK, this is a problem. I have never replaced a slat before. I am not really interested in buying one, so I will attempt to make one.
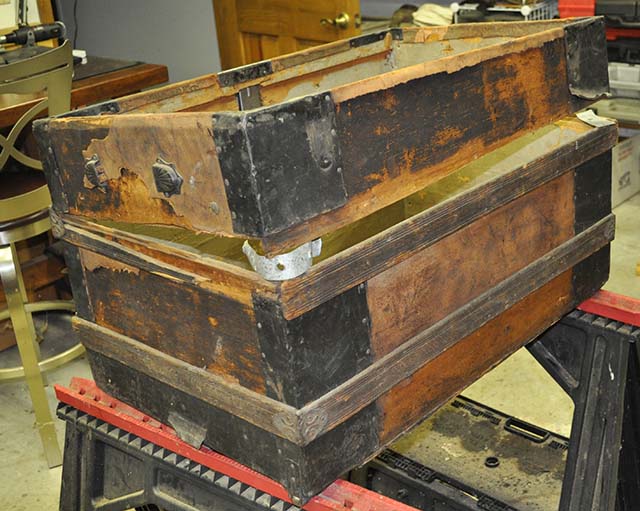
The lid is not attached. But that is good. It will be easier to work on. I will attach the lid after I clean and repair everything. Also on each end there is a rip in the metal at the bottom. I really am stumped as to why? But I picked up a couple of decorative pieces at the antique shop that I can nail on right over the ripped pieces to hide them. Pretty sure that no one will wonder about them. After all, there are many, many different designs of trunks!
Missing a decorative end cap. No big deal, if you have access to replacement parts.
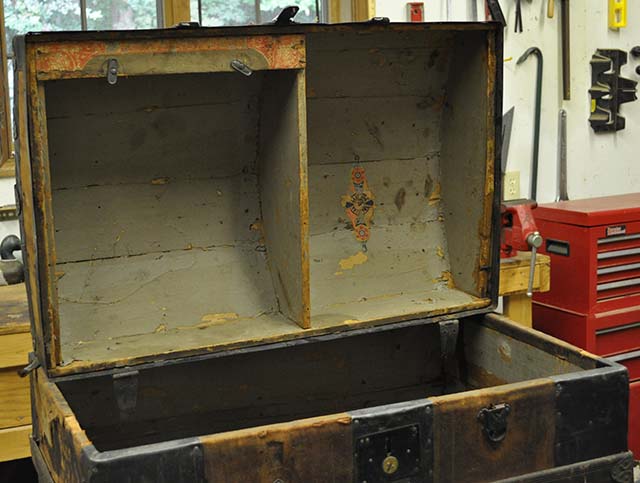
If I was trying to restore this antique trunk to it’s original condition, I would have to fix all of this. But for me I will just remove all evidence of the compartment that was inside of the lid.
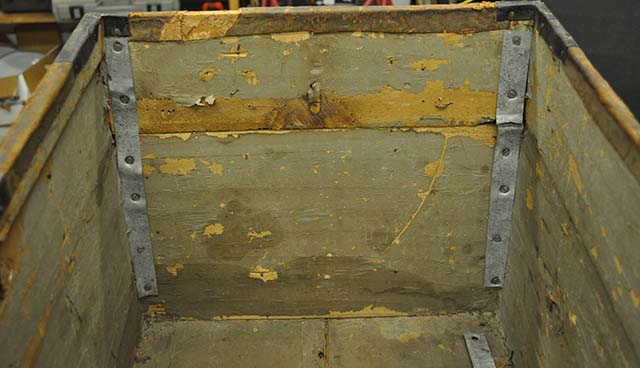
Wow, this could be a problem. This antique trunk had actually come apart, either from rough handling or someone trying to get at the contents. Hard to believe that someone actually made this repair. They screwed a metal strip in each corner to hold it together!
This is not actually that rare. A lot of times people break the locks because the keys are lost. I will just clean this up a little and glue a piece of wood in this hole.
This is why they didn’t want anyone to touch this antique trunk at the antique store! The first order of business will be to remove the metal strips, that have failed, and repair the body of this old trunk! There are also a lot of rough metal edges exposed. I don’t want anyone to get cut when the antique trunk is finished. I will take care of any rough edges.
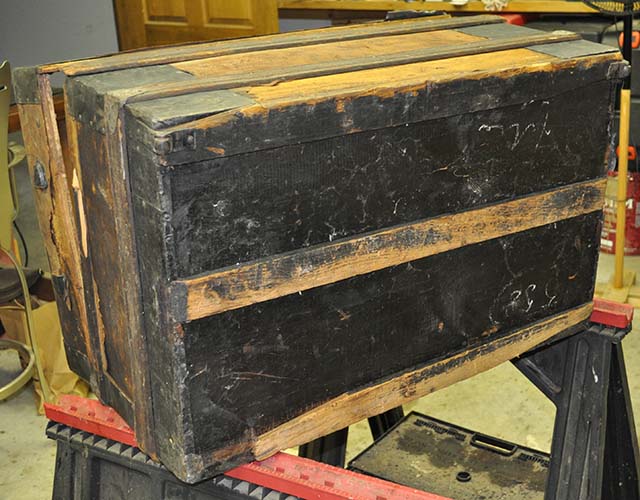
The bottom doesn’t concern me too much. No one will probably see it anyway. But it does have to be level. It is missing 2 wheels, but I found 2 cousins that will work just fine. The strip that is damaged is on the front, so I think that I will remove the strip from the middle and put it on the front. Then I will make a strip for the center. With the bottom I just want to insure that it is level and that there are no sharp edges that could damage the floor.
When you first buy a trunk to refinish you will want to leave it open until you work on it to help when the “old” smell that may be inside. There are some methods to remove odors that we will cover. But for the average trunk, the air, cleaning, staining, and varnishing should take care of most of the smell. But let’s remember that these smells did not occur overnight and they will not go away overnight! And a little “antique” smell is appealing to some people.
I will title the posts on the repairs as Day 1, Day 2, and etc. That way it will be easy to follow along. Don’t get to wrapped up in the “Day” title. That is just to keep it in order. Sometimes I might make a small repair that has to be clamped and have time to dry before I move on. So on some of the posts you might actually see a couple of days work. If you are going to attempt this my first words of advice would be not to rush. It is a slow process, but the end result will be well worth the wait. Do your repairs right and they should last forever!
I was going to try and track the hours, but I have a hard time with planning. Sometimes I walk out into the shop to look at it, and I end up working on it! Anyway hours are a personal thing. Some people may race to the finish while others may think twice and cut once.
And I seem to fall into the second category. I like to think each repair through before I start. You also want to know how what you are doing might affect the next step. I hate to redo something once it is complete!

