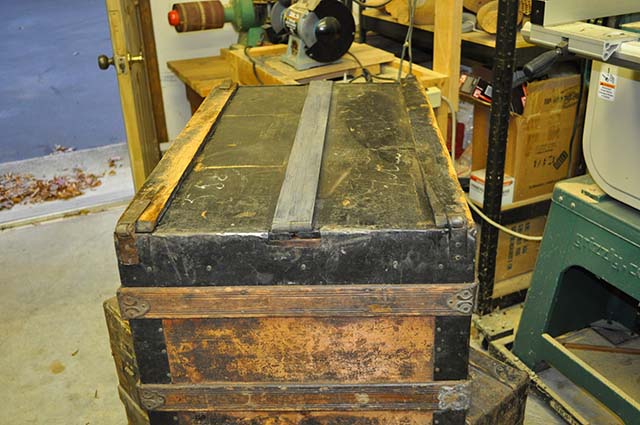
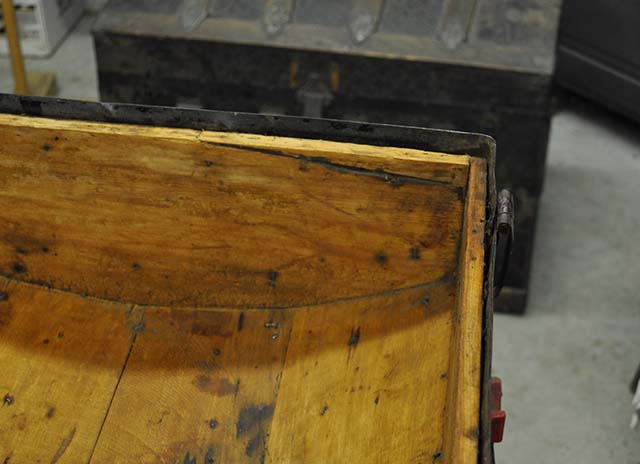
I made a couple of small wood repairs before I stripped the inside.
On the front right corner you can see where I added a piece of wood. There was a big piece broken off and even though it would not have been seen, I still felt that I should fix it. I also put a coat of black paint on the middle slat that I replaced with a new piece of wood.

On the inside of the lid there was also a big chunk of wood missing from the part that meets the body. You will still notice a line, but I felt that it would look a lot better than a big hole! I will sand on it some more when I sand the inside of the lid. I got this piece of wood from the divider that I removed from the middle.

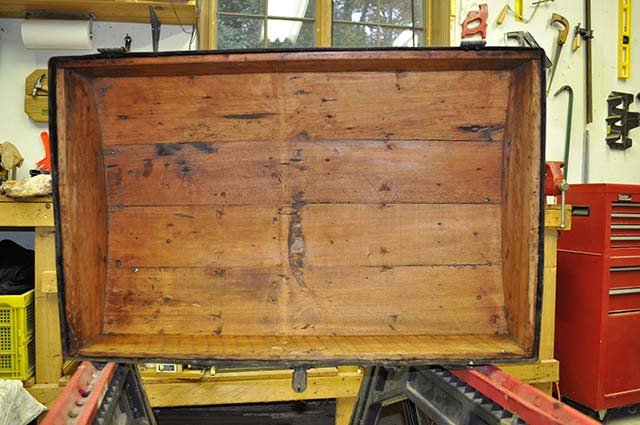
Ok, here is the inside of the lid with the paper removed. Of course there is more than one way to do this. I use a spray bottle with warm soapy water in it. I then scrape the paper with a putty knife. You must be careful not to dig into the wood as you go. This wood is over a hundred years old and is soft.
Now I think that the soap serves to help loosen the glue and will help you with any foul odors in your trunk. I usually just use any soap that my wife has lying around. The one that I used for this was a natural “green” product with a citrusy smell. I kind of liked it!
When I get it done I wipe it with a wet soapy cloth to clean off any remnants and to smooth it out. I then wipe it again with a dry cloth to get as much moisture off as I can. If you leave this wood too wet for too long it may warp.
Also remember that this trunk lid had compartments and dividers that I removed. They were in too bad of shape to repair and would actually serve no purpose for me.

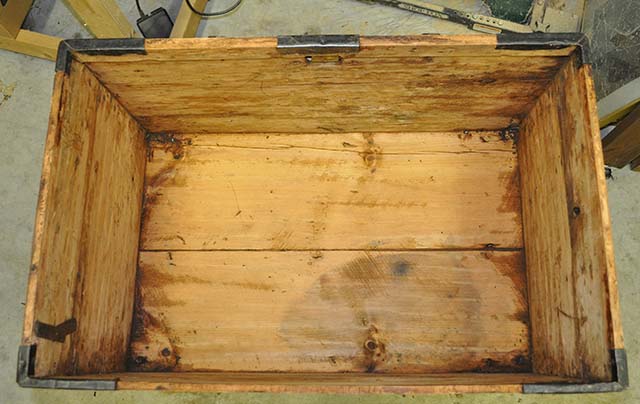
Here is the main trunk body stripped of the paper. If you are going to put paper or cloth back over this you do not need to be as careful with the inside stripping. But for this project I will leave the wood bare. So I want to make it smooth and I will put a coat of varnish over it.
Most of the time people will not see the inside of your trunk. And if they do they will probably see mostly the contents that you have in it when it is opened. That is why I rarely spend too much time on the inside. The other thing is that you can always come back and do the inside if you change your mind.
My wife is now wanting to get involved and do an inside with fabric. I have a flat top trunk that I will probably get her to work on the inside of. Should be a fun project for her.

Next I will start stripping the outside of this old trunk. It really is starting to look better already. And it really feels sturdy.
Sometimes it can be tempting to rush through to hurry up and get to the end. But it is always better to take your time. Some steps require some wait time for glue to dry and the wood to dry out. After I strip the outside I will give this trunk a few days to dry.
